Let me guess: you’ve tried everything to get that stubborn grout clean.

The Pinterest hacks? Failed.
Those “miracle” cleaners from TikTok? Waste of money.
Don’t worry. I’m about to save you hours of frustration.
After deep cleaning thousands of kitchens and bathrooms, I’ve learned what actually works - and what’s just marketing hype.
But first, a warning: Some of these techniques can damage your surfaces if done incorrectly.
That’s why I’ll also show you exactly when to step back and
The truth about kitchen and bathroom deep cleaning
Here’s something most cleaning companies won’t tell you:
90% of deep cleaning success depends on what you do BEFORE you start cleaning.
Yes, before you even grab that first cleaning product.
Think about it: Your kitchen and bathroom are the only rooms that combine:
- High moisture levels
- Constant temperature changes
- Chemical exposure
- Heavy daily use
- Food particles and organic matter
This creates a unique cleaning challenge that requires a specific approach.
What you’ll need: Professional tools on a homeowner’s budget
Let’s start with what you actually need. And no, you don’t need to buy every “specialized” cleaner on the shelf.
The essentials:
- White vinegar
- Baking soda
- Hydrogen peroxide (3%)
- Heavy-duty degreaser
- Microfiber cloths
- Stiff brush (not wire)
- Grout brush
- Steam cleaner (you can rent one)
- Squeegee
- Good ventilation mask
Quick tip: Don’t waste money on those “all-in-one” cleaning kits. They’re usually overpriced and underpowered.
Before you start: The preparation you need
First, clear everything out.
I mean everything. Those decorative items on your counter? The bath mat? The toaster you haven’t used in months?
They’re just getting in your way.
Safety first: Protect yourself and your surfaces
Here’s something I learned the hard way: Chemical burns are no joke.
Never mix:
- Bleach with anything except water
- Vinegar with bleach
- Ammonia with bleach
And always test products on a small, hidden area first.
Professional kitchen deep cleaning process
Ready to make your kitchen sparkle? Let’s do this right.
Step 1: The pre-clean ritual
Before any deep cleaning, you need to:
Clear and assess
- Remove everything from counters
- Empty cabinets (at least the fronts)
- Clear the fridge exterior
- Move small appliances
Pro tip: Take pictures of how things were arranged. Trust me, you’ll thank me later.
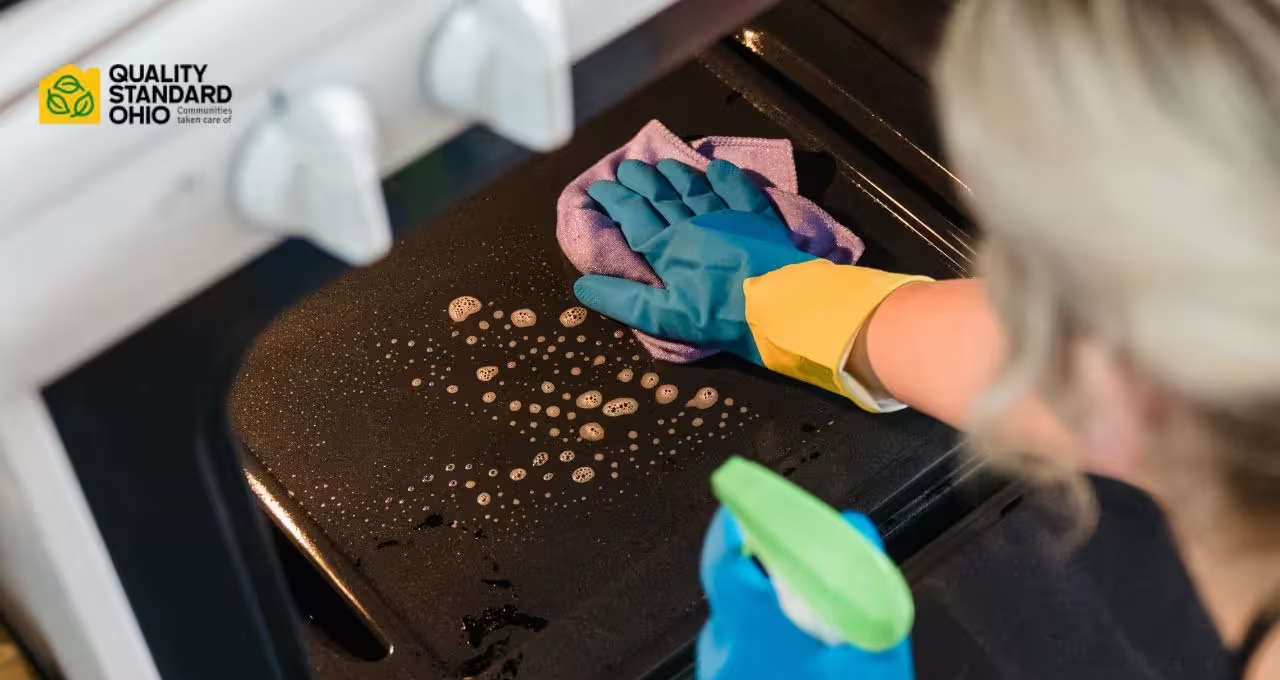
Step 2: The degreasing phase
This is where most people go wrong. They start scrubbing before degreasing.
Big mistake.
Here’s the right way:
- Start with upper surfaces (cabinets, range hood)
- Spray degreaser
- Let it sit for 10 minutes (crucial step!)
- Wipe with microfiber cloth
See that yellow residue on your cloth? That’s years of airborne grease.
Step 3: Tackling specific kitchen surfaces
Let’s break this down by surface type, because each one needs different care.
Countertops
Here’s where most Pinterest hacks can actually damage your surfaces.
For natural stone (granite, marble, quartz):
- Never use vinegar or lemon
- Avoid abrasive cleaners
- Use pH-neutral cleaners only
- Always wipe in the direction of the grain
Cabinet faces
The secret here? Work from top to bottom.
- Start with handles and knobs
- Clean panel faces
- Pay special attention to bottom edges
That bottom edge grime? It’s usually a mix of cooking oil and dust. Nasty stuff.
The dreaded backsplash
This is where most DIY attempts fail. Here’s why:
Regular cleaning doesn’t touch the grease that’s actually IN the grout.
For tile backsplash:
- Apply degreaser
- Let sit for 15 minutes
- Scrub grout lines gently
- Steam clean if possible
- Seal grout (yes, you should do this)
The truth about different cleaning methods

Here’s a real comparison of cleaning methods and their effectiveness:
| Method | Grease Removal | Sanitization | Time Required | Risk Level |
|---|---|---|---|---|
| Regular Mopping | 20% | Low | 30 mins | Low |
| Steam Cleaning | 75% | High | 2 hours | Medium |
| Chemical Clean | 85% | Medium | 3 hours | High |
| Professional Service | 99% | Very High | 4 hours | None |
Advanced bathroom restoration services
Now, let’s tackle everyone’s least favorite room: the bathroom.
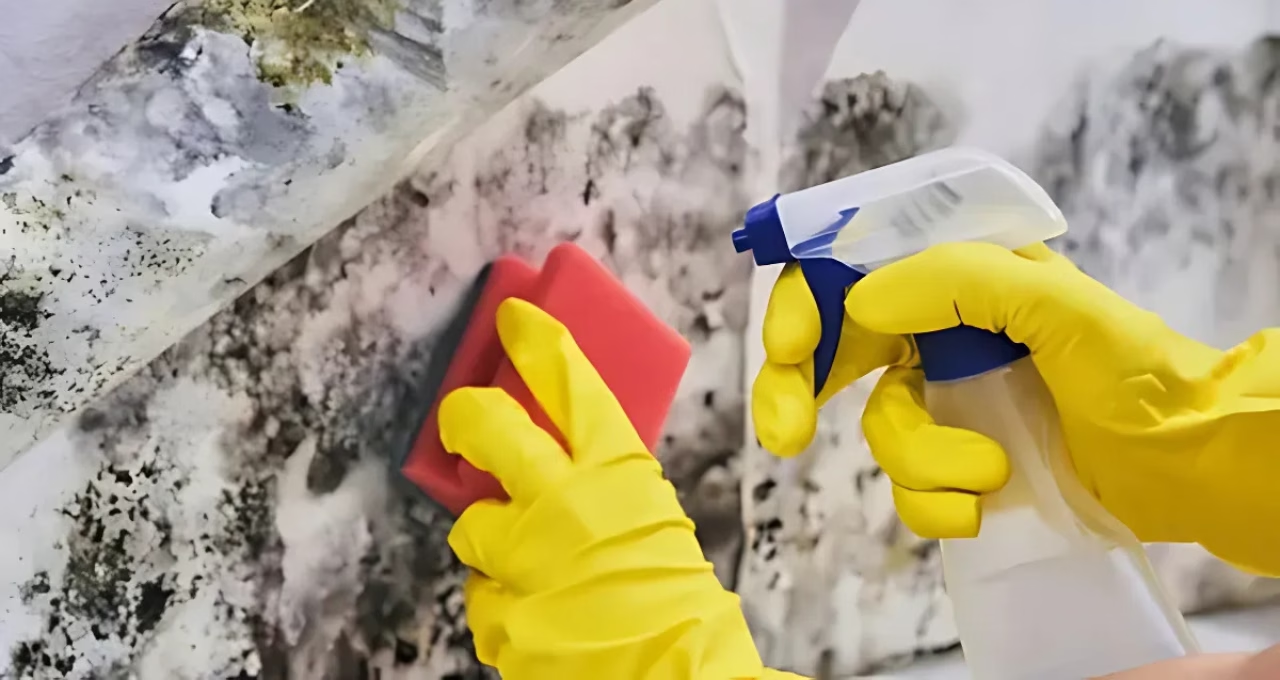
But first, a reality check: If you have black mold, stop reading and call us immediately.
The real way to deep clean a bathroom
Forget what you’ve seen on cleaning shows. Here’s the professional approach:
First phase: Preparation (again)
- Remove everything (yes, everything)
- Run hot shower for 5 minutes
- This loosens soap scum
- Makes cleaning easier
- But don’t skip your mask - ventilation is crucial
Second phase: The actual cleaning
Let’s break it down by area, because each needs specific attention:
Shower and tub area: The proper technique
Stop using those shower sprays that “do all the work.” They don’t.
Here’s what actually works:
- Spray everything with cleaner
- Let it sit for 15 minutes (This is where patience pays off)
- Scrub in this order:
- Walls from top down
- Fixtures (don’t forget the shower head)
- Tub or shower base last
For glass doors:
Mix equal parts vinegar and dish soap in a spray bottle.
This combo breaks down hard water and soap scum better than most commercial cleaners.
The toilet: Beyond the basic clean
Everyone knows to clean the bowl, but what about:
- Under the rim jets
- The often-forgotten base
- Behind the toilet
- The wall behind it
Pro tip: Those black marks under the rim? That’s mold starting to grow.
Tile and grout: The biggest challenge
Here’s why grout is so tricky:
- It’s porous
- It collects soap scum
- It’s a magnet for mold
- Regular cleaners don’t penetrate deep enough
The professional method:
- Apply oxygen-based cleaner
- Let sit 20 minutes
- Scrub with soft brush
- Steam clean if possible
- Apply sealer when dry
*If your grout is still dark after this, you likely have deeper issues that need professional attention.
When to call the professionals (before you make things worse)
Look, I love DIY as much as anyone. But sometimes, you need to know when to step back.
Call us if you notice:
- Black or colored mold
- Persistent musty smells
- Grout that stays dark after cleaning
- Loose or cracking tiles
- Water damage signs
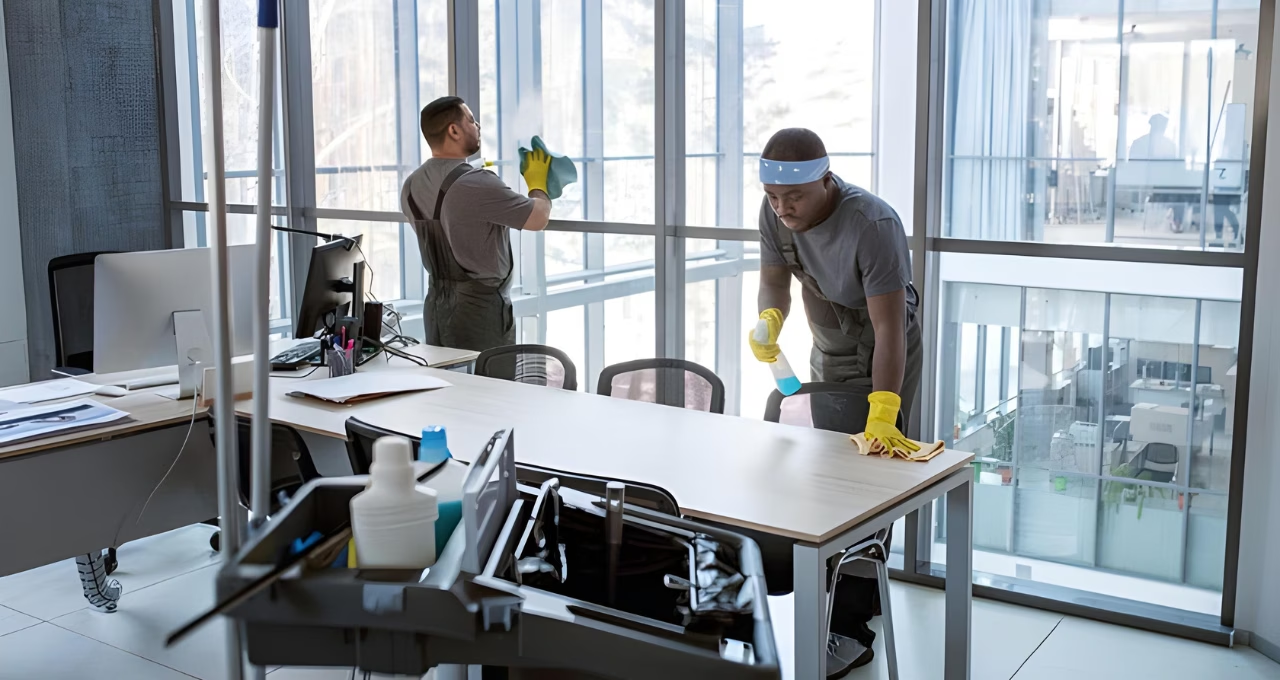
Why some jobs need professional help
Here’s what we bring that you can’t get at the hardware store:
| Professional Equipment | What It Does | Why It Matters |
|---|---|---|
| Commercial Steam Cleaners | 300°F steam | Kills 99.9% of bacteria |
| HEPA Filtration | Traps microscopic particles | Prevents cross-contamination |
| Professional-Grade Products | Stronger formulations | Better results, safer when used properly |
| Specialized Tools | Gets into tight spaces | More thorough clean |
Take our deep cleaning service
Keep your spaces cleaner between deep cleans
Whether you choose DIY or hire us, here are some pro tips to maintain cleanliness:
Daily habits that make a huge difference
In the kitchen:
- Wipe surfaces after each meal
- Clean spills immediately
- Run hood fan while cooking
- Empty sink every night
In the bathroom:
- Squeegee shower after use
- Run exhaust fan for 30 minutes after showers
- Wipe counters daily
- Keep a small squeegee handy
The smart way to prevent major buildup
Weekly quick cleans prevent 80% of deep cleaning issues.
But here’s the key: You need to be consistent.
Set up a simple schedule:
- Monday: Quick wipe-down
- Wednesday: Basic clean
- Saturday: More thorough attention
Ready to tackle your deep clean?
Now you know the professional secrets to deep cleaning your kitchen and bathroom.
You can either:
- Take on the challenge yourself (and now you know how to do it right)
- Let us handle it for you
Either way, your spaces will thank you.
Want more cleaning tips? Check out our guide on how to become an expert in exterior cleaning with pressure washing.
Remember: A clean home isn’t just about appearances - it’s about creating a healthy environment for you and your family.
Whether you’re ready to DIY or prefer to leave it to the experts, take action today. Your kitchen and bathroom deserve it.
And you too…